This blog has moved!
Future content will be hosted at https://choosehappy.dev/
a compendium of half-finished projects by thomas strömberg – @thomrstrom
Future content will be hosted at https://choosehappy.dev/
My home office space has been offline for the last two months due to the invasion of 20,000 honeybees. This article is not about that story.
However, when putting everything back into its place, I knew my home storage server running FreeBSD 15-CURRENT was overdue for a wipe and reinstall: it’d been 4 houses, several years, and a handful of domain names since it was initially installed.
One thing I hate about having a home lab is needing to crawl around to fetch a keyboard and monitor for reinstall and recovery ops. Enter the JetKVM, a nifty little device that promised to make this painful process a bit more bearable.

JetKVM is a tiny & cheap hardware KVM-over-IP solution that lets you remotely control servers via a web browser. I’d ordered mine months ago via Kickstarter, but today was my first shot at using it.
Getting the JetKVM ready was refreshingly straightforward:
Once I turned the machine on, I was greeted with a familiar boot screen that we’ve seen on PC devices since the 1980’s.
I had 10TB of data on this machine to preserve, so I wanted to get a quick map of which disks were what before accidentally wiping something. If I’d been less lazy, I would have unplugged the drives with data.
zpool status -v revealed my storage layout:
FreeBSD's device naming is logical once you know the patterns: nda for NVMe, ada for SATA/PATA drives.
From my MacBook Pro, I started to setup a bootable USB drive using this classic incantation:
sudo diskutil list | grep external
/dev/disk4 (external, physical):
sudo dd if=$HOME/Downloads/FreeBSD-15.0-CURRENT-amd64-20250612-e6928c33f60c-277883-mini-memstick.img of=/dev/disk4s1 bs=10240
I used the JetKVM virtual keyboard to insert the “Del” button to enter BIOS and set the boot device order up so that it would boot off of the USB stick. But wait, what’s this “JetKVM Virtual Media” device?

Then I noticed this curious “Virtual Media” button in the JetKVM screen – was it possible to upload a disk image to this thing and boot it up without worrying about USB sticks and dd commands? It turns out you can – what a game changer:

One quirk I discovered for FreeBSD is that only the CD/DVD ISO image boots properly via JetKVM Virtual Media, not the memstick images.

It’s been nearly 30 years after my first FreeBSD installation (2.2.0), and I still find new quirks that cause me to go into menu loops. This time it did not like that my system already had a “zroot” pool defined. This was easy enough to fix by selecting the “Shell” option from the partitioning menu:
zpool import zroot
zpool destroy zroot
After that, the rest was smooth sailing.

The JetKVM is fine as an emergency connectivity option, but nothing beats SSH and a static IP for ease of use. I immediately dove into /etc/rc.conf and defined:
ifconfig_igb0="inet 10.9.8.7 netmask 255.255.255.0"
FreeBSD makes it easy to reconfigure interfaces based on the stored configuration:
/etc/rc.d/netif restart
I like configuring SSH (/etc/sshd/sshd.conf) avoid brute-force attacks from flooding the logs, as well as make them hopeless:
Port 32022
PasswordAuthentication no
KbdInteractiveAuthentication no
PermitRootLogin yes
Another quick service restart and SSH was ready:
/etc/rc.d/sshd restart
Here's where my smooth reinstall hit a snag. After getting everything configured, I couldn't reach GitHub:
$ git clone https://github.com/tstromberg/commit-etc.git
Cloning into 'commit-etc'...
fatal: unable to access 'https://github.com/tstromberg/commit-etc.git/': Failed to connect to github.com port 443 after 23 ms: Could not connect to server
DNS was working fine – host github.com returned the expected results:
$ host github.com
github.com has address 140.82.114.4
github.com mail is handled by 10 alt4.aspmx.l.google.com.
github.com mail is handled by 1 aspmx.l.google.com.
...
But trying to actually connect revealed the issue:
$ curl -vvv github.com
== Info: Host github.com:80 was resolved.
== Info: IPv4: 140.82.112.4
== Info:   Trying 140.82.112.4:80...
== Info: Immediate connect fail for 140.82.112.4: Network is unreachable
== Info: Failed to connect to github.com port 80 after 23 ms: Could not connect to server
curl: (7) Failed to connect to github.com port 80 after 23 ms: Could not connect to server
The culprit? I'd forgotten to set the default gateway. I added defaultrouter="10.9.8.1" to /etc/rc.conf and restarted routing:
/etc/rc.d/routing restart
I liked having the extra security blanket of the JetKVM in case I botched the networking configuration.
Once connectivity was restored, I could install my usual set of server tools:
pkg install tmux fish git doas rsync go syncthing
SyncThing gets special mention here as my go-to solution for keeping files synchronized across machines. It deserves it's own article, but getting it running is just:
sysrc syncthing_enable=YES
/usr/local/etc/rc.d/syncthing start
The sysrc command is FreeBSD's clean way to modify /etc/rc.conf programmatically – less error prone than manual edits.
I also needed to get my system configuration management back online. My approach is to keep /etc under version control with a simple script setup:
git clone https://github.com/tstromberg/commit-etc.git

cp commit-etc.sh $HOME/commit-etc

$HOME/commit-etc/commit-etc.sh

echo "0 0 * * * $HOME/commit-etc/commit-etc.sh" |crontab -e
Now any system changes I make will be automatically translated into git commits.
The FreeBSD “CURRENT” stream is considered “alpha” quality and well-known for stability issues. Even so, I was surprised to get a panic so quickly, induced by my attempt to sync terrabytes worth of data to an external drive via USB 3.0:

The JetKVM proved its worth here too – as it made persistent out-of-band access to my server a painless affair. Otherwise, I would have had to fetch a monitor out to see the panic message.
After some tweaks, FreeBSD 15-CURRENT is running smoothly now, with a clean ZFS setup and all my essential services back online. The combination of solid documentation (those man pages!), logical device naming, and straightforward service management makes FreeBSD a pleasure to work with, even during major system changes.
Some of you may have heard that there was another supply-chain attack against an open-source project yesterday – this time in a Javascript library called Lottie Web Player.
I have yet to talk much about it, but earlier this year I started an open-source project named malcontent that detects precisely this kind of attack: malicious changes in open-source software. This is very relevant to my day job at Chainguard.
malcontent summarizes the risks and capabilities of a file and alerts when a new version substantially changes those risks and capabilities. It's easier to show you with a screenshot:

In a nutshell: mal diff calculated that the risk of file went from MEDIUM to CRITICAL between two revisions. In doing so, it surfaced a number of new behaviors that would catch the eye of a code reviewer. The idea here is that no tool will be able to give you a 100% reliable answer to “Is it malicious or not?” but as a code reviewer, you have the context of what functionality changes are reasonable to you for the library you are consuming.
malcontent works on any file you might encounter in open source, from shell scripts to Linux ELF binaries to macOS machO binaries and PHP. While we’ve incorporated over 15,000 YARA rules, we're far from the same quality level as VirusTotal; so if you are handy in YARA or Go or would like to learn more about them, PRs are welcome!
PS – malcontent can also be used as a basic malware scanner – but it isn’t yet as impressive as the “diff” mode: mal scan /path
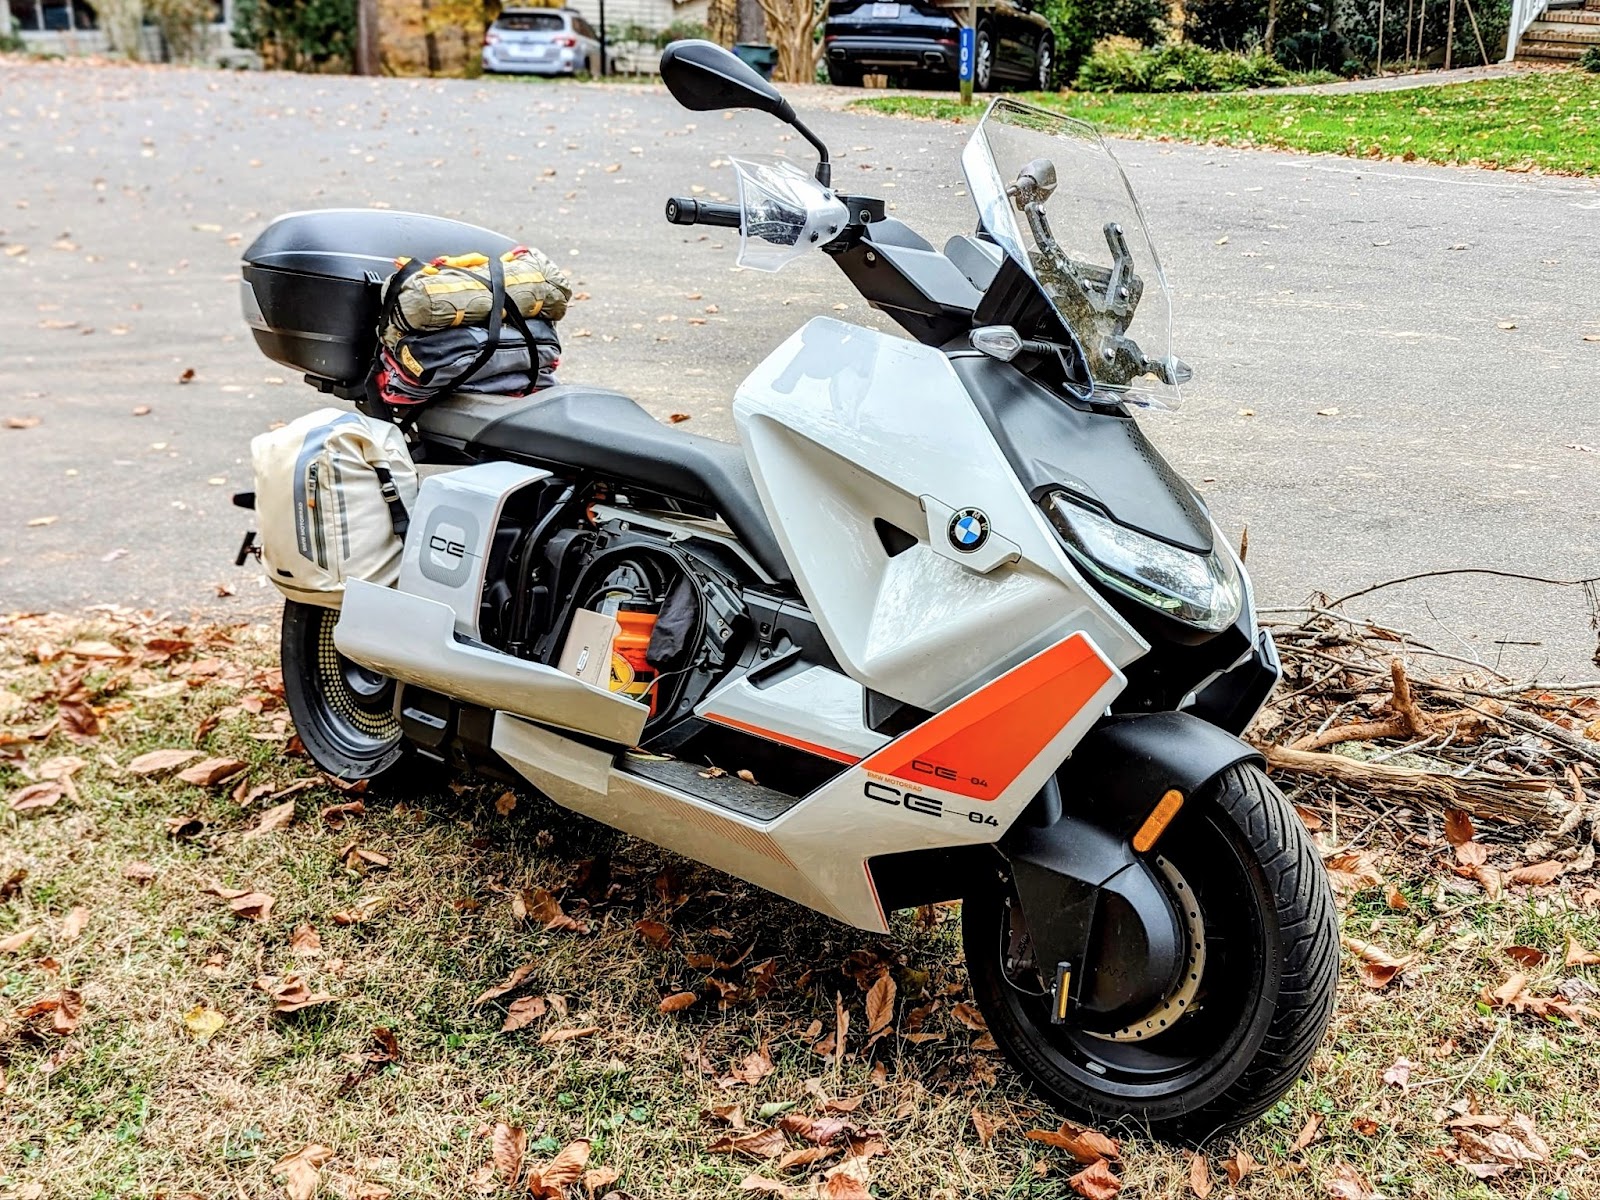
This weekend, I took my funky electric BMW CE 04 camping at the edge of the Uwharrie Mountains for 3 days, covering 170 miles (270km). The trip was a breeze, so skip this post if you are looking for drama.
At my current employer, nation-state actors are part of our threat model. So, I get a little excited when someone posts malware that is tied to one of the big-4 (China, North Korea, Russia, United States of America). Last week, Elastic Security Labs posted an article titled DPRK passing out KANDYKORN outlining the latest macOS malware discovery from North Korea, and this week a sample appeared in the Objective-See Malware collection for inspection.

I threw our YARA queries at Kandy Korn, and found that 2 of the 3 binaries were identified as suspicious:
Earlier this week, I stumbled into Cado's report on Qubitstrike, an attack on publicly accessible Jupyter notebook installations. Unlike most security reports, the hosted malware files were still available, which meant I could analyze and validate our defenses against it. Normally, I don't get this opportunity to study emerging threats, as I'm not paying the $20,000/yr paywall fee for access to Google's VirusTotal service that most researchers seem to rely on.

With 4,700 miles (7500km) and 9 months under my belt, it's time for my long-term review of the BMW CE 04.

In 2022, BMW released the CE 04: a futuristic-looking spaceship in a sea of boring two-wheeled EVs. It made quite a splash, with BMW selling nearly 5000 in the first year. While European sales were strong, I estimate that only about 250 were sold in the USA during 2022. I may, in fact be the only CE 04 owner in North Carolina.
Today is homeward bound: a final 204 miles through Central North Carolina. There are a couple of locations of historical interest that I have plans to stop by: The Trading Ford, Sapona, and the Keyauwee village. I'm not keeping my hopes up too high, though, as the exact locations of each are murky and possibly on private property.

Today is the day of the twisties that I've been dreaming about, with roughly 180 miles of riding through the Blue Ridge Mountains ahead on my trusty BMW CE-04.
Breakfast at the Carrier House Bed & Breakfast was incredible: a creamy parfait, a savory souflée, and excellent coffee. I regret not exploring Rutherfordton, as it's one of the oldest towns in North Carolina (1787). It was also named after a general who inflicted considerable damage on the nearby Cherokee tribes in the Cherokee–American wars.
Alas, the hills were calling my name.

Today began like most days do not: up at 5 am, staring at a scooter in the pouring rain, wondering if this trip was a good idea. Most adventures aren't, but that hasn't stopped anyone before.
My favorite personal fault is that when I commit to doing something, I do it regardless if it makes sense or not. Accordingly, I pressed the button to bring the BMW CE-04 to life as thunder reverberated across my recently adopted hometown of Chapel Hill, NC.
Today’s goals were the Town Creek Indian Site, lunch with a friend, and a quaint bed and breakfast in Rutherfordton, NC – some 200 miles direct – but the straightest routes in life are always the dullest.